 |
1 First come up with your design. I was inspired by someone else's design and I knew it would work perfectly in our showhouse dining room design.
 |
| Design inspiration |
3 Shop for supplies:
Canvas (stretched already at a hobby store, unless you know how to stretch your own)
Acrylic paints in the colors of your design/match old paintings
Cutting board (you can use wood or several layers of card board if you don't have a cutting mat)
Exacto knife with lots of blades ( you will have to change them often)
Pencil
Ruler (metal for cutting)
Acrylic matte gel (pictured below) You don't have to get very much. I used about 1 cup for my painting.
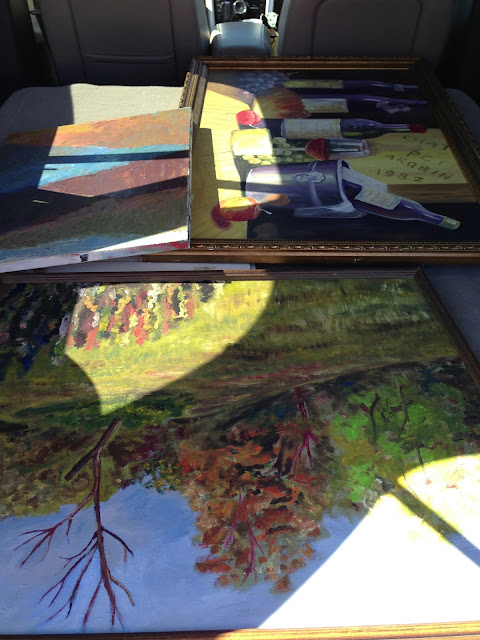
Old Oil Paintings
4 Draw your design on your canvas with a pencil
 |
| Draw your design |
 |
| Start Painting |
 |
| Design is painted! |
 |
| I painted the yellow stripes on the edge because I may not frame it or I may frame it with a gallery frame and I wanted them to continue. |
6 Paint the background. I went with white because I wanted it nice a crisp.
 |
| Painting is done, now start the collage... |
 |
| Cut the canvas - you can cut it from the back or the front. |
 |
| I numbered them after I placed them on the canvas to remember the order to glue. |
 |
| Apply gel to canvas |
 |
| Apply gel to the back of the canvas strip. I used a piece of cardboard to do this. |
9 After gluing about 10 strips. you have to turn the painting over and put books on it so they won't curl up. It has to dry about an 1 hour then repeat. It won't be completely dry but enough to continue. Repeat until done.
 |
| I did one section at a time |
 |
| I tried to leave something recognizable in each section from the original painting (notice the pink ear) |
 |
| Making progress...I left the yellow stripes painted as a contrast to the collage. |
It's tedious, but cathartic ~ happy collaging! Brandy


Love this!
ReplyDelete